DIY Irrigation Installation: A Step-by-Step Guide
JL
Installing an irrigation system in your garden or yard can save you time and water, and ensure that your plants receive the consistent care they need. While hiring a professional is an option, a DIY irrigation installation is both manageable and rewarding. In this guide, we'll walk you through the process step by step.
Planning Your Irrigation System
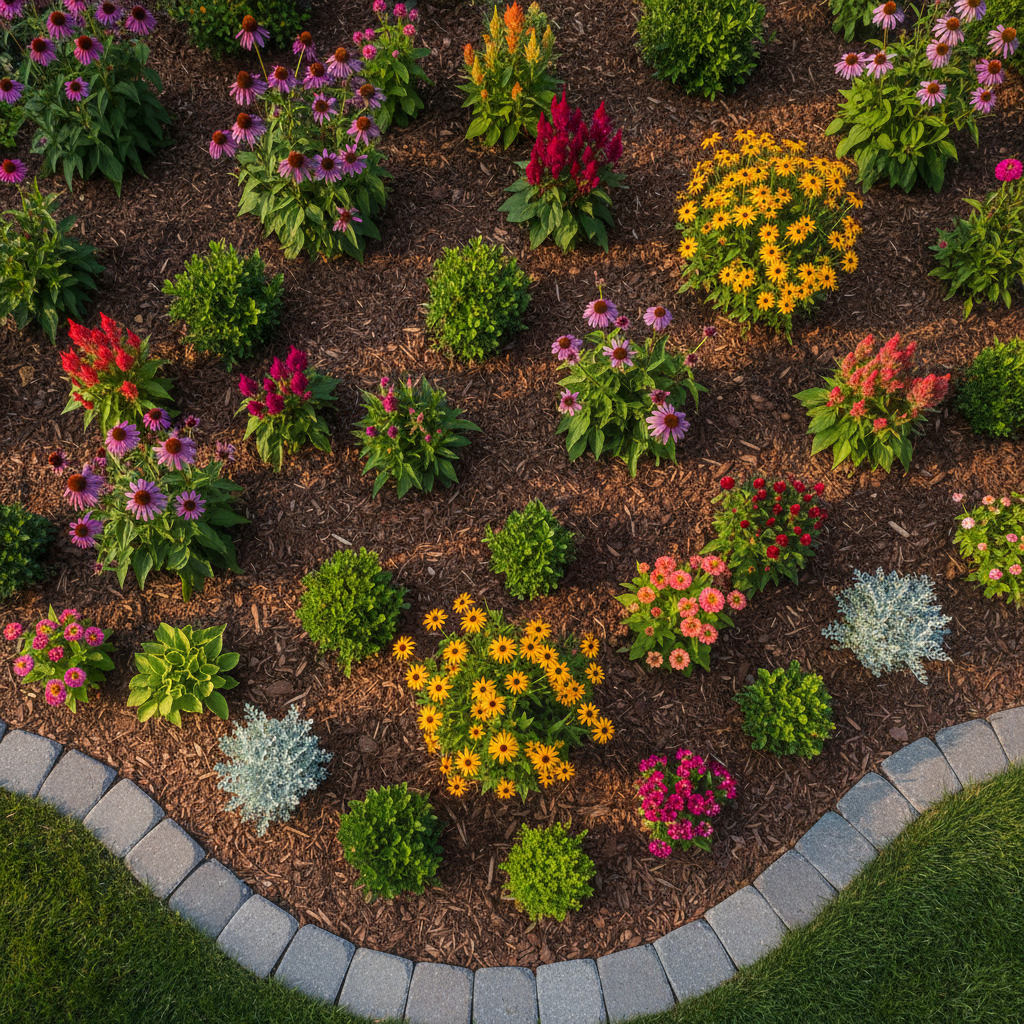
Before you start digging, it's essential to plan your irrigation system carefully. First, sketch a rough layout of your garden or lawn, marking where you want to place plants and grass. Identify the water source and take note of any obstacles like trees or pathways.
Next, calculate the water pressure and flow rate from your source. This information will help you determine the type and number of sprinklers or drip lines needed. Ensure you choose an irrigation system that suits your landscape, whether it's a drip system for precise watering or sprinklers for larger areas.
Gathering Materials and Tools
Once you've planned your layout, gather the necessary materials and tools. You'll need piping (PVC or polyethylene), connectors, sprinklers or drip emitters, a timer, and a backflow prevention device. Tools like a shovel, pipe cutter, and tape measure will also be essential during installation.
Make sure to purchase a few extra fittings and connectors. It's always better to have more than you need, especially if you're new to DIY projects. Having everything on hand before starting will save time and prevent unnecessary trips to the store.

Installation Process
Begin by marking the path of your piping on the ground using stakes and string. This will serve as a guide when digging trenches. The trenches should be deep enough to protect the pipes from damage, usually about 6-12 inches depending on your climate.
Lay out the main line first, connecting it to the water source. Then, attach the lateral lines, which will lead to the individual emitters or sprinklers. Use connectors to secure the pipes, ensuring there are no leaks. Install the backflow prevention device to protect your water supply from contamination.
Finalizing and Testing
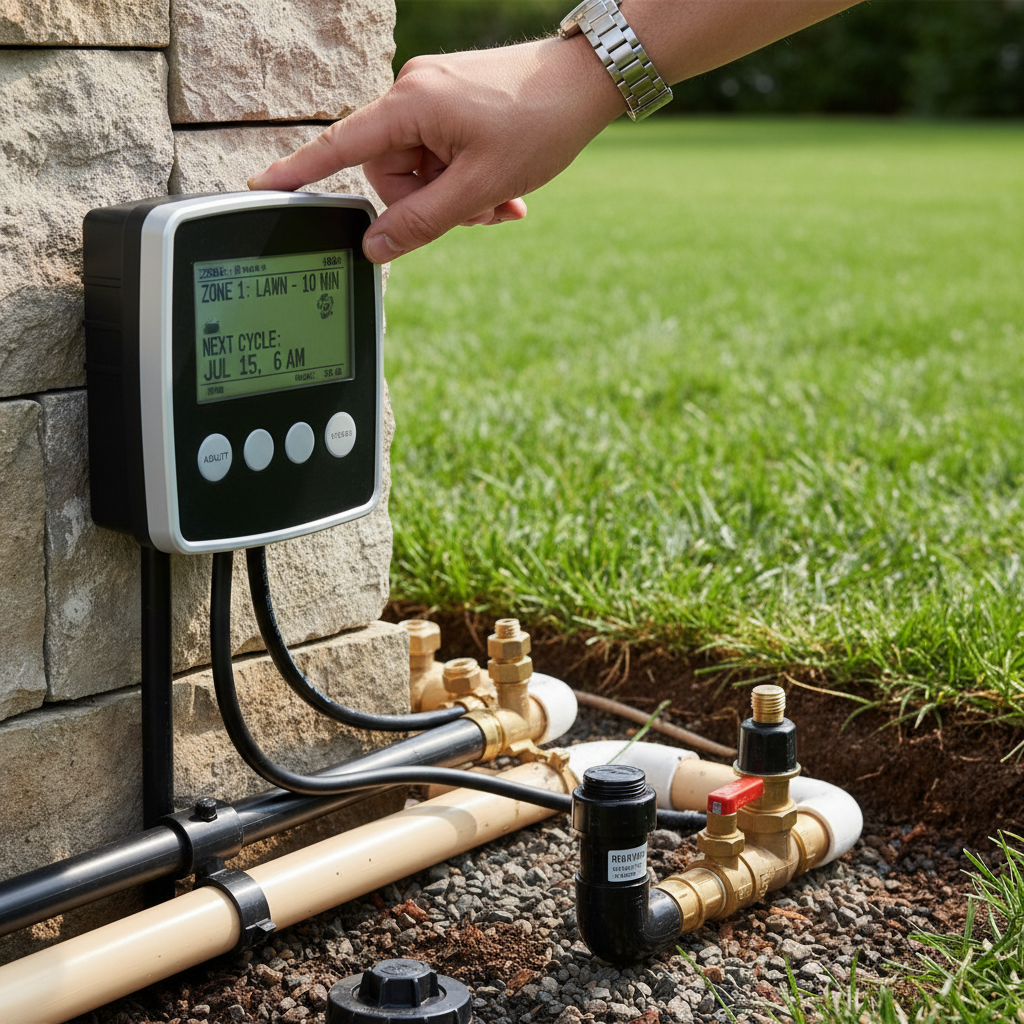
After laying the pipes, cover the trenches carefully, ensuring not to damage the system. Install the sprinklers or drip emitters according to your plan, adjusting their placement for optimal coverage. Attach a timer to automate watering, which will help conserve water and keep your plants healthy.
Once everything is in place, test the system. Turn on the water and check for leaks or areas with insufficient coverage. Adjust the emitters or sprinkler heads as needed to ensure even watering across your garden.
Maintenance Tips
Regular maintenance will keep your irrigation system running smoothly. Check for leaks, clogs, or broken emitters periodically. Clean or replace parts as needed, especially before and after the growing season.
A well-maintained system will not only save water but also enhance the health and beauty of your garden, making the initial effort worthwhile in the long run.